Setting up Groups in Canvas
Step 1: Open the Discussion page where you wish to set up a group.
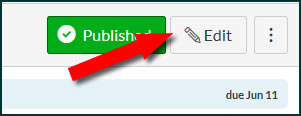
Next, click on the Edit button in the top right corner of the page to reveal the work area you will use to set up your groups. NOTE VERY WELL: You are creating a group for this discussion only! It will have no impact on other discussions in your class. Their groups must be set up individually.

VERY IMPORTANT! If your intent is to set up pairs of students for an activity, do not use the Groups tool. There is no way for Canvas to automatically assign groups of two for learning partner activities. The best approach for learning partner activities is to ask students to set up their own learning partner.
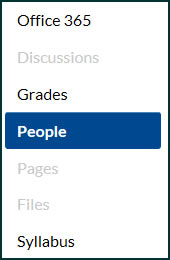
Step 2: Click on People in the left navigation column.
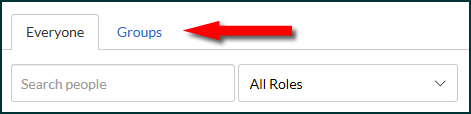
Step 3: Click on the Groups link at the top left of the page.
Step 4: Click on +Group Set.

Find this button in the top right corner of the Groups page. In Canvas, the words Group Set refer to different groups of students -- a set -- within a course.
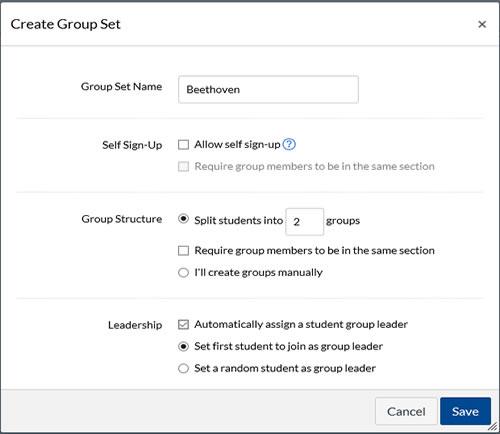 Step 5: Establish Group parameters.
The window illustrated on the right shows you the decisions you must make as you establish your Group Sets.
- What is the Group Set Name?
- Will you allow group members to sign themselves up for a group? The other options are to let Canvas assign them randomly, or you can assign students to groups yourself.
- Must group members be in the same section of the course, or will you allow them to subscribe to groups outside their section?
- How many groups should Canvas create? Keep in mind that the groups will have the same name but with a number attached.
- When you have decided on the options under Group Structure, an additional option will appear: Leadership. If you ask Canvas to assign the leader automatically, you can determine whether it is the first student to join the group or randomly assigned to a group member.
.
Step 6: Click Save to 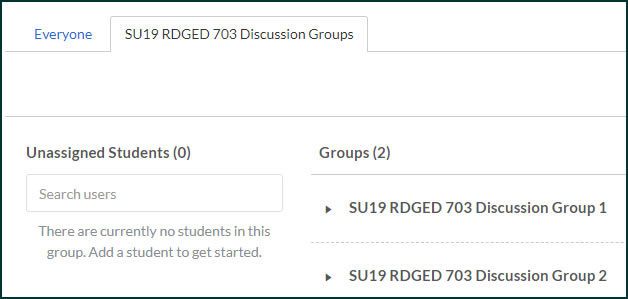 create the groups.
Note the arrowhead in front of each group name. To see the members of the group, click on the arrowhead.
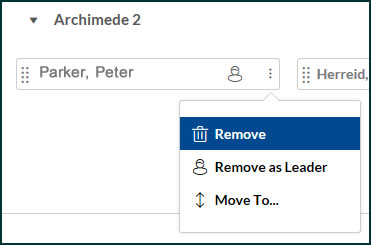
Canvas selected Peter Parker to be the Leader of the group Archimedes 2. Notice the little figure to the right of his name. That's Peter's leader "badge." If you click on the three dots at the end of Peter's window, you'll see the drop-down menu in the illustration. Notice your options: Remove, Remove as Leader, and Move To...
 Step 7: Designate a Group Discussion on the module discussion page.
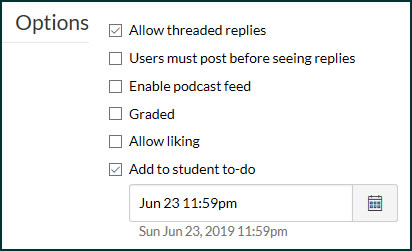
Now return to the Discussion page and find the Options area, shown on the right. It will be just below the content area for the page. Consider these options carefully, because once the discussion has started, the Options cannot be changed.
NOTE: It is STRONGLY RECOMMENDED that you DO NOT Allow liking. You may ask "Why?" Just consider: you're already insecure about being in this class, and then you don't get any Likes on your posts. Let's avoid this possibility.

You now have to distinguish this Group Discussion from a "regular," all-class discussion. Do this by checking the box for This is a Group Discussion.
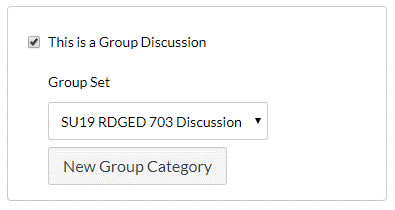 The groups that you created above (Group Set) will now appear in the Group Discussion box.
When you save the Discussion page, you will see that the header has changed to reflect that there are two discussion groups. Canvas has actually recreated the page for both groups, as you will discover when you click on either discussion group name.
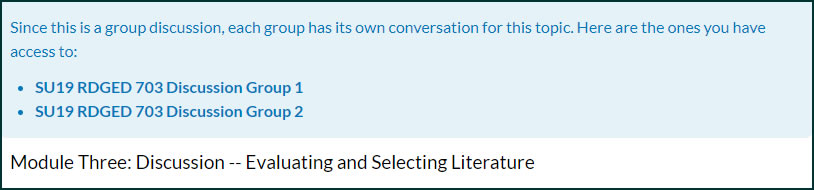
The pages will look the same to the students, but they will participate only with their assigned group. Only you will see the header shown here.